Setup Sveltia CMS on GitHub Pages with Custom Domain
Forestry CMS was discontinued in September 2023. If you’re still running Jekyll on GitHub Pages and need a replacement CMS, Sveltia CMS is a solid option. It’s a drop-in replacement for Decap CMS (formerly Netlify CMS) with a more modern UI.
This guide covers the full setup: Sveltia CMS, GitHub OAuth authentication, and custom domain configuration.
Prerequisites
- A working GitHub Pages repository (e.g.
username.github.io) - A custom domain pointing to GitHub Pages (optional)
- A Cloudflare account (free tier works)
1. Create the Admin Folder
Create an admin/ folder in your Jekyll project root with two files. admin/index.html
1
2
3
4
5
6
7
8
9
10
11
12
<!DOCTYPE html>
<html>
<head>
  <meta charset="utf-8" />
  <meta name="viewport" content="width=device-width, initial-scale=1.0" />
  <meta name="robots" content="noindex" />
  <title>Content Manager</title>
</head>
<body>
  <script src="https://unpkg.com/@sveltia/cms/dist/sveltia-cms.js"></script>
</body>
</html>
admin/config.yml
1
2
3
4
5
6
7
8
9
10
11
12
13
14
15
16
17
18
19
20
21
backend:
  name: github
  repo: username/username.github.io
  branch: master
  base_url: https://your-worker-url.workers.dev

media_folder: "uploads"
public_folder: "/uploads"

collections:
    - name: "posts"
    label: "Posts"
    folder: "_posts"
    create: true
    slug: "{{year}}-{{month}}-{{day}}-{{slug}}"
    fields:
            - { label: "Layout", name: "layout", widget: "hidden", default: "post" }
            - { label: "Title", name: "title", widget: "string" }
            - { label: "Date", name: "date", widget: "datetime" }
            - { label: "Categories", name: "categories", widget: "list", required: false }
            - { label: "Body", name: "body", widget: "markdown" }
Replace username with your GitHub username. The base_url will be filled in after deploying the Cloudflare Worker.
2. Include the Admin Folder in Jekyll
Add this to your _config.yml:
1
2
include:
    - admin
Without this, Jekyll may skip the admin/ folder during the build process.
3. Create a GitHub OAuth App
- Go to GitHub Developer Settings
- Click New OAuth App
Fill in the form:
- Application name: Sveltia CMS (or anything you like)
- Homepage URL:
https://yourdomain.com - Authorization callback URL: use a temporary placeholder like
https://placeholder.workers.dev/callback
- Click Register application
- Note down the Client ID
- Click Generate a new client secret and save the Client Secret
4. Deploy Sveltia CMS Authenticator to Cloudflare Workers
Sveltia CMS needs an OAuth server as a middleman because GitHub OAuth requires a client secret that must not be exposed on the frontend.
1
2
3
4
5
6
7
8
9
10
11
12
13
# Install Wrangler CLI
npm install -g wrangler

# Login to Cloudflare
wrangler login

# Clone the authenticator
git clone https://github.com/sveltia/sveltia-cms-auth.git
cd sveltia-cms-auth

# Install dependencies and deploy
npm install
wrangler deploy
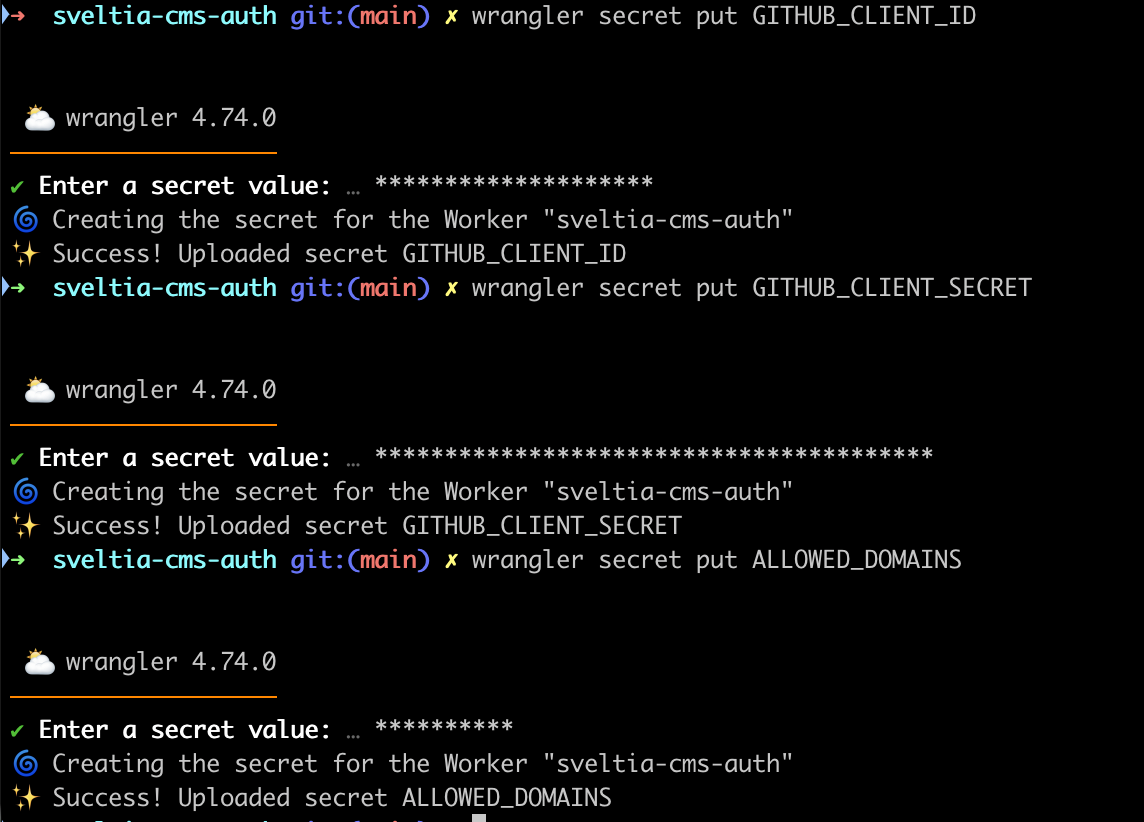
After deploying, set the required secrets:
1
2
3
4
5
6
7
8
wrangler secret put GITHUB_CLIENT_ID
# Paste your Client ID from the GitHub OAuth App

wrangler secret put GITHUB_CLIENT_SECRET
# Paste your Client Secret from the GitHub OAuth App

wrangler secret put ALLOWED_DOMAINS
# Enter your domain, e.g.: yourdomain.com
Once deployed, check your Cloudflare Dashboard > Workers & Pages to find the full worker URL.
5. Update the Callback URL and Config
- Go back to GitHub Developer Settings and edit your OAuth App
- Update the Authorization callback URL to:
https://your-worker-url.workers.dev/callback - Update the
base_urlinadmin/config.ymlwith the correct worker URL
6. Setup a Custom Domain (Optional)
If you want to use a custom domain with GitHub Pages: DNS Configuration
Add A records pointing to GitHub Pages IPs:
1
2
3
4
185.199.108.153
185.199.109.153
185.199.110.153
185.199.111.153
For a subdomain like www, add a CNAME record:
1
www  CNAME  username.github.io
GitHub Settings
- Go to your repository > Settings > Pages
- Under Custom domain, enter your domain
- Check Enforce HTTPS
- Create a
CNAMEfile in your project root containing your domain:
1
yourdomain.com
Wait a few minutes for DNS propagation and SSL certificate provisioning.
7. Push and Test
1
2
3
git add .
git commit -m "Add Sveltia CMS"
git push
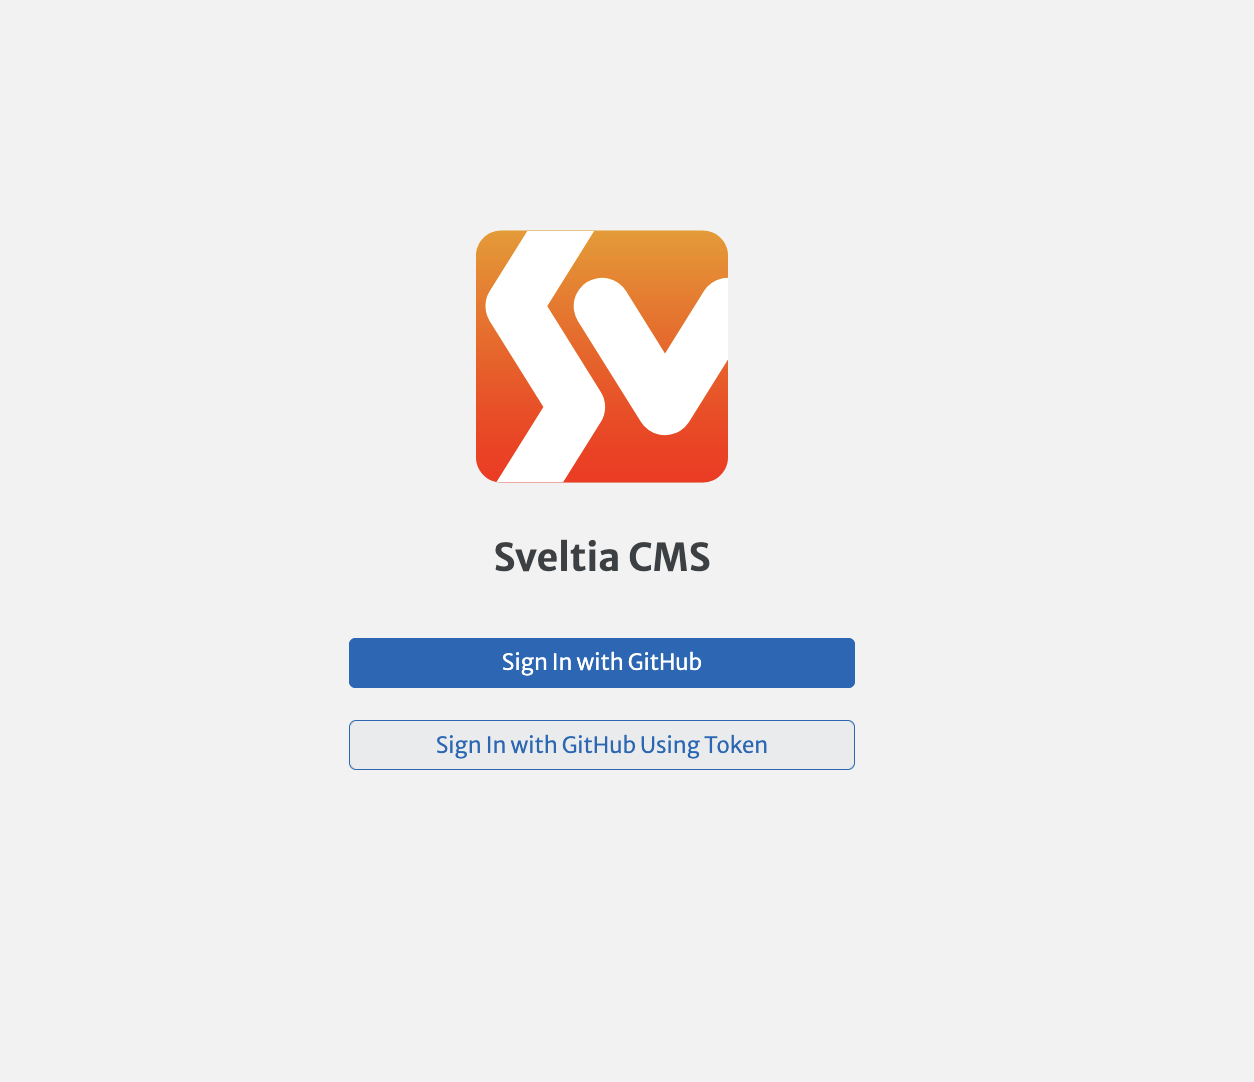
Wait for GitHub Actions to finish building, then open https://yourdomain.com/admin/. Click Sign in with GitHub and authorize the app.
Troubleshooting Tips
- If you’re using a non-default theme like
plainwhite, useremote_themeinstead ofthemein_config.ymland addjekyll-remote-themeto your plugins. GitHub Pages cannot resolve local gem themes. - If you get a 404 on
/admin/, make sure theinclude: [admin]directive is in your_config.ymland the build completed successfully. - If sign-in redirects to a “Server Not Found” page, double-check your worker URL in both
admin/config.ymland the GitHub OAuth App callback URL. - The
.forestry/folder can be safely removed after migrating to Sveltia CMS.
That’s it. You now have a modern CMS for managing your Jekyll blog on GitHub Pages.